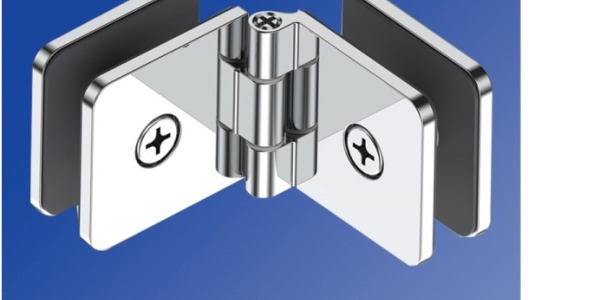
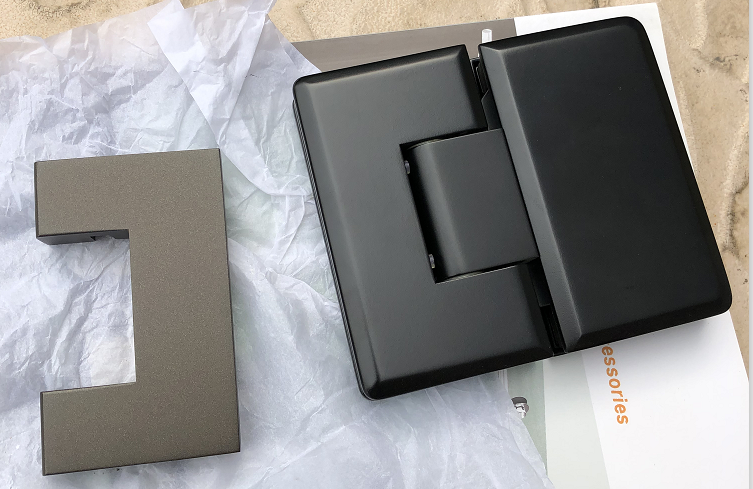
Adhesion Test Procedure (Two) SHOWER HINGE, DOOR HANDLE
The first article mainly talked about the definition of the adhesion and the adhesion test knife used in the Adhesion Test Procedure. In this article, we will describe the process and method of the Adhesion Test Procedure.
It is specified to use 3m600 or 610 tape to stick to finish, quickly pull up 3M tape, and the number of finish paint or electrical layer stuck by the tape shall be in accordance with Adhesion Test Procedure IS0 grade: 0 = ASTM grade: 5B
The edge of the cut is completely smooth, and the edge of the lattice is free of any peeling. Adhesion Test Procedure ISO grade: 1 = ASTM grade: 4B
There are small pieces of peeling at the intersection of cuts, and the actual damage in the cross cut area is ≤ 5%. ISO grade: 2 - ASTM grade: 3B
There is peeling at the edge or intersection of the incision, and its area is greater than 5% ~ 15%. ISO grade: 3 = ASTM grade: 2B
There is partial peeling or whole peeling along the edge of the incision, or part of the lattice is peeled off by the whole piece. The spalling area exceeds 15% ~ 35%. ISO grade: 4 = ASTM grade: 1B
The quality corresponding to each standard is different. If you want hing-quality, you could choose grade 0 or 1, and the corresponding price will be higher.
The above steps can be repeated many times, and the results can be recorded for analysis. The results of the analysis can be graded according to the standards.
The above is about the Adhesion Test Procedure. If you have other views, you are welcome to discuss with us.
Experimental standard
It is specified to use 3m600 or 610 tape to stick to finish, quickly pull up 3M tape, and the number of finish paint or electrical layer stuck by the tape shall be in accordance with Adhesion Test Procedure IS0 grade: 0 = ASTM grade: 5B
The edge of the cut is completely smooth, and the edge of the lattice is free of any peeling. Adhesion Test Procedure ISO grade: 1 = ASTM grade: 4B
There are small pieces of peeling at the intersection of cuts, and the actual damage in the cross cut area is ≤ 5%. ISO grade: 2 - ASTM grade: 3B
There is peeling at the edge or intersection of the incision, and its area is greater than 5% ~ 15%. ISO grade: 3 = ASTM grade: 2B
There is partial peeling or whole peeling along the edge of the incision, or part of the lattice is peeled off by the whole piece. The spalling area exceeds 15% ~ 35%. ISO grade: 4 = ASTM grade: 1B
The quality corresponding to each standard is different. If you want hing-quality, you could choose grade 0 or 1, and the corresponding price will be higher.
Experimental steps
1. Preparing the Cutter
Each blade has 4 cutting edges, labelled 1-4. The blade can be reversed and rotated to use a new edge once the blade is worn. The lSO standard recommends that the cutting blade is changed when the top of the blades is flatted by 0.1mm.2. First Cut
Place the cutting tool on the sample. Press down gently and pull the tool towards you in one steady movement to make a series of parallel lines approx. 20mm long.3. Second Cut
Place the cutting tool on the sample at 90° to the first cut and repeat step 2.1 to create a cross hatch pattern.4. Clean The Sample
Brush the area to remove any debris and inspect to ensure the cuts have penetrated the coating.5. Prepare The Tape
Using the correct adhesive tape, remove and discard 2 complete turns of tape. Remove an additional 75mm of tape at a steady rate. Retain this section.6. Apply The Tape
Centre the tape over the cross hatched area and smooth into place using a pencil eraser.7. Remove The Tape
Remove the tape by pulling in a single smooth action. The tape should be pulled at an angle of 180°The above steps can be repeated many times, and the results can be recorded for analysis. The results of the analysis can be graded according to the standards.
The above is about the Adhesion Test Procedure. If you have other views, you are welcome to discuss with us.