Installing Shower Screen Stabilizer Bar: A Step-by-Step Guide
Installing a shower screen stabilizer bar is a relatively straightforward process that can greatly enhance the stability and safety of your shower enclosure. Here's a step-by-step guide to help you through the installation:
Step 1: Prepare the Area
Start by clearing the shower area and ensuring it's clean and dry. Remove any existing fixtures or components that might interfere with the installation.
Step 2: Measure and Mark
Use a measuring tape and a pencil to mark the desired height for your stabilizer bar on the wall where it will be installed. Typically, this should be around eye level or slightly higher. Ensure that the marks are level by using a spirit level.
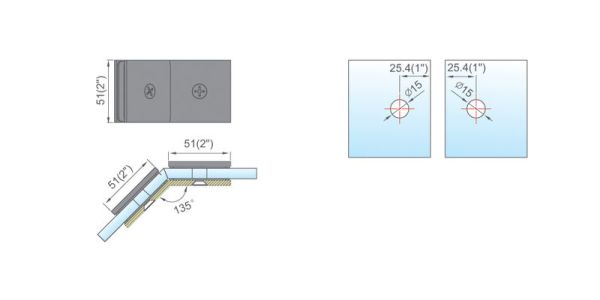
Step 3: Attach Wall Brackets
Most stabilizer bar kits include wall brackets. Position these brackets at the marked locations on the wall and ensure they are level. Mark the screw hole locations on the wall.
Step 4: Drill Pilot Holes
Use an appropriate drill bit to create pilot holes at the marked screw hole locations. The size of the drill bit should match the size of the anchors you'll be using.
Step 5: Insert Anchors
If you're installing the stabilizer bar on a tiled or concrete wall, insert the anchors into the pilot holes. For drywall, use appropriate drywall anchors.
Step 6: Attach Wall Brackets
Securely attach the wall brackets to the wall using screws. Make sure they are firmly anchored to the wall.
Step 7: Install Stabilizer Bar
Slide the stabilizer bar through the openings in the wall brackets. The bar should now be securely attached to the wall.
Step 8: Adjust and Level
Use a spirit level to ensure that the stabilizer bar is level. If necessary, adjust the bar by loosening the brackets and making the necessary adjustments. Once it's level, tighten the brackets securely.
Step 9: Check for Sturdiness
Give the stabilizer bar a gentle shake to ensure it is firmly attached and doesn't wobble. It should provide solid support to the fixed panel of the shower screen.
Step 10: Clean Up
Remove any pencil marks and clean the shower area of any debris from the installation process.
Step 11: Attach the Fixed Panel
If your shower screen has a fixed panel, attach it to the stabilizer bar according to the manufacturer's instructions.
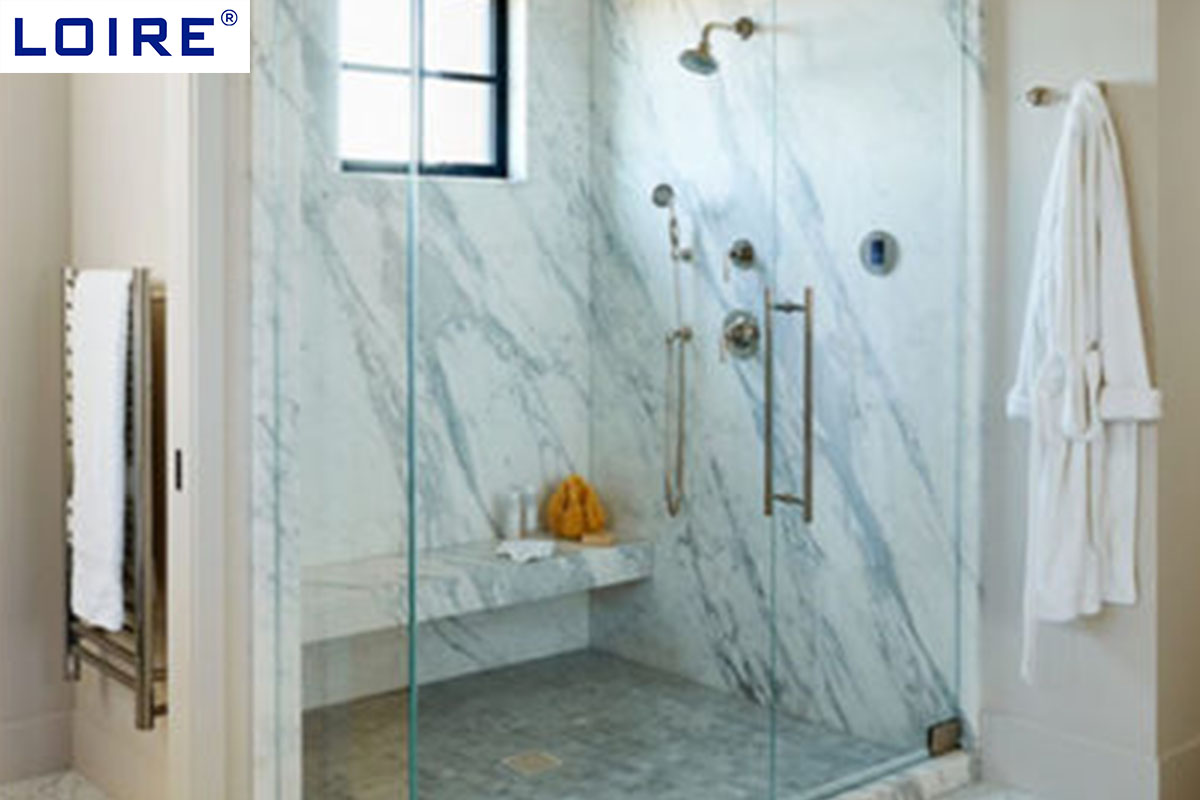
With the stabilizer bar in place, your shower enclosure should be more stable, secure, and aesthetically pleasing. Always follow the specific instructions provided with your stabilizer bar kit, as the installation process may vary slightly depending on the brand and model.