DIY Glass Shower Enclosure Installation: A Step-by-Step Guide for Beginners
Are you tired of waiting for professional installers and want to save costs on your bathroom renovation? Installing a glass shower enclosure yourself is easier than you think, with the right tools, parts, and tips, you can achieve a sleek, professional-looking result in a weekend. In this guide, Loire will walk you through each step to help beginners achieve professional results.
Why DIY Glass Shower Installation Is Possible Today
Thanks to modern engineering, today’s glass shower door hinges, clamps, brackets, and installation profiles are designed for convenience, durability, and perfect alignment, making DIY shower enclosure projects far more achievable than before. High-quality hardware manufacturers (like us) develop fittings that require no specialized construction background, use minimal tools, and allow homeowners to complete glass shower enclosure installation quickly with proper guidance. With the right components, even beginners can achieve a professional-level finish that enhances both the aesthetics and functionality of their bathroom.

Important Safety Precautions
Tempered glass is strong, but it must be handled with care. Before you begin installation:
- Always wear protective gloves and safety glasses
- Never lift or install glass panels alone
- Ensure walls are solid enough to support the enclosure
- Double-check all measurements before drilling
- Keep the floor dry to prevent slipping
Prioritizing safety ensures a smooth installation and protects both the hardware and the glass.
Know Your Shower Enclosure Components
Understanding each part of the shower enclosure will make the installation process easier:
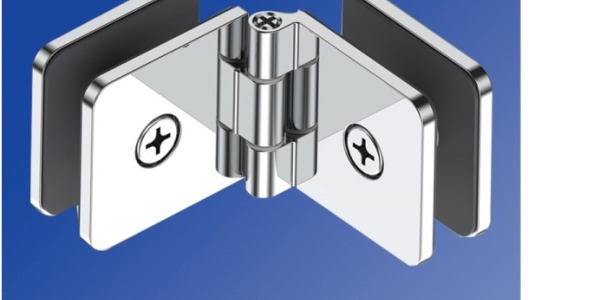
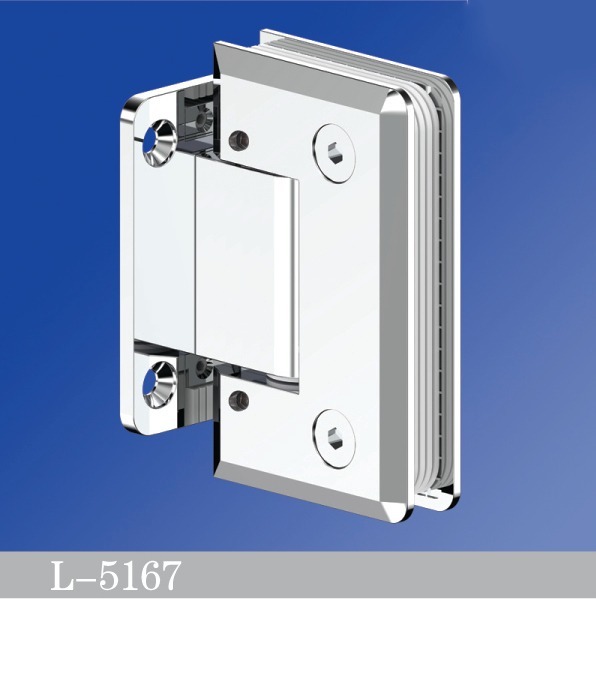
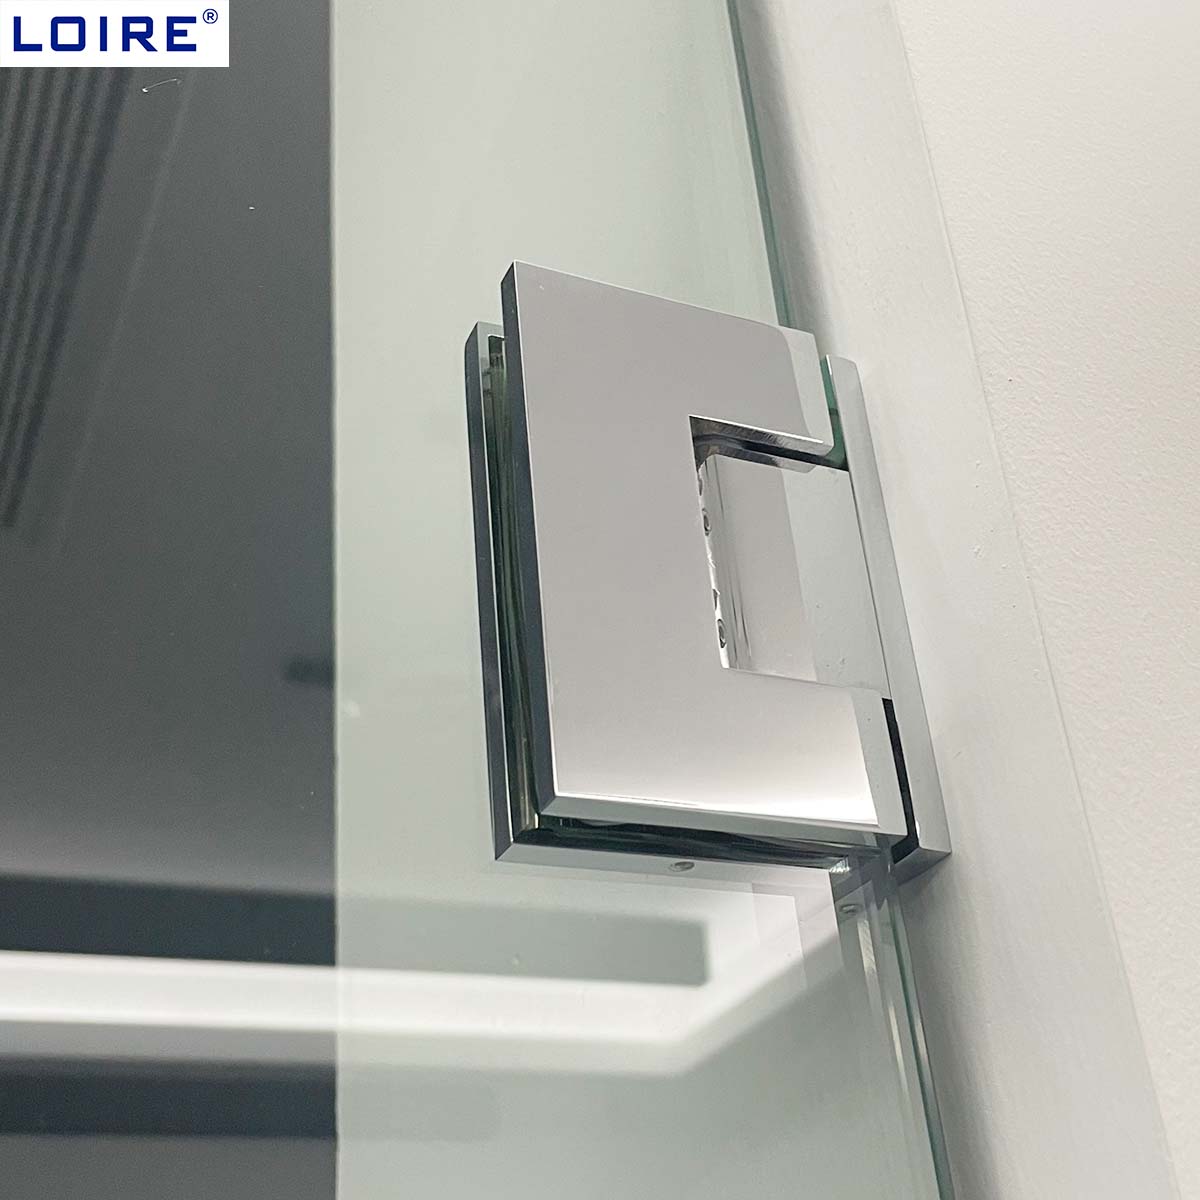
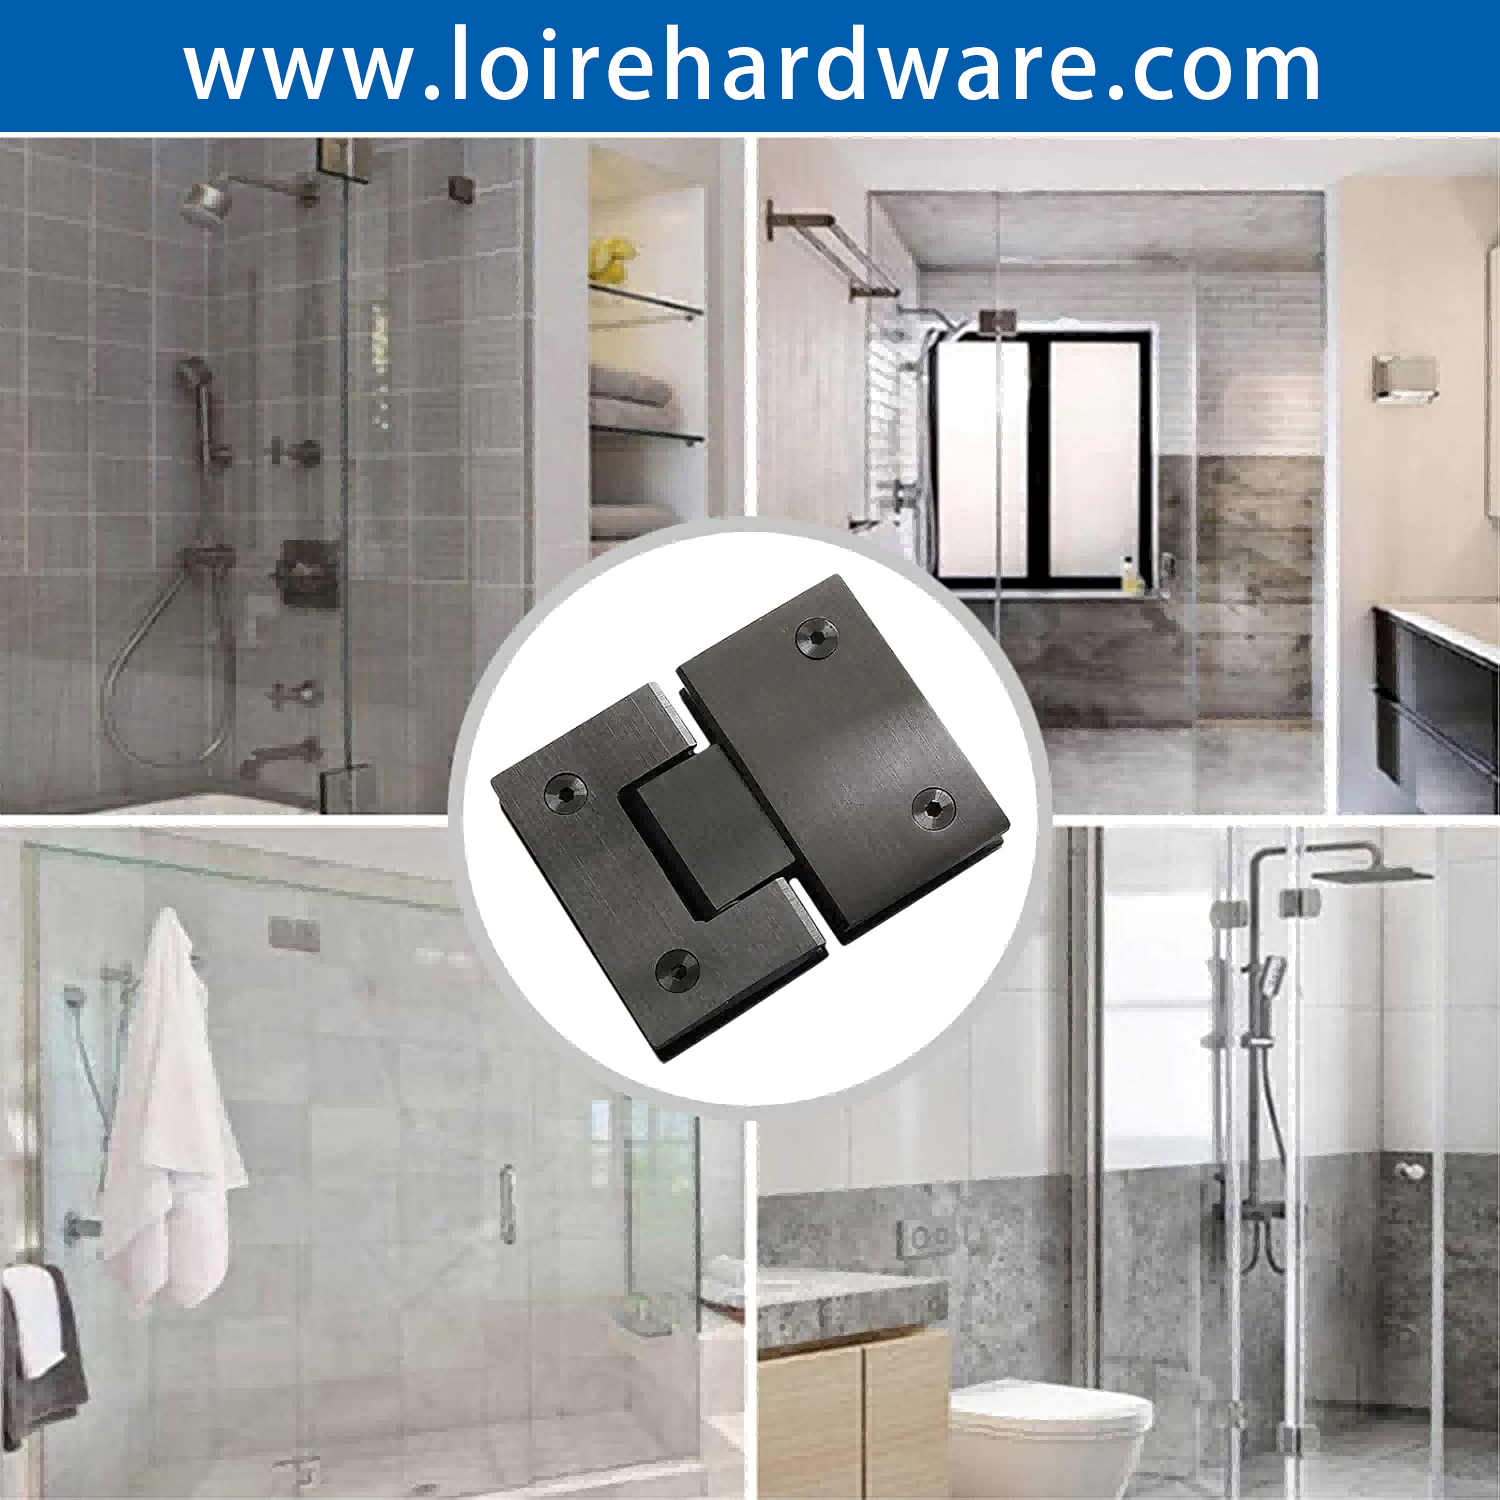
- Hinges: Pivot hinges, 90° and 180° glass-to-glass hinges, or wall-to-glass hinges
- Fixed panel clamps or brackets
- U-channels / wall profiles
- Support bars for stabilizing large glass panels
- Handles or knobs
- Waterproof seals & sweeps
Familiarizing yourself with these components helps ensure correct placement and alignment during the glass shower installation.

Step-by-Step DIY Installation Guide
Step 1: Measure the Shower Space
Accurate measurement is the foundation of a perfect installation. Measure the width and height of the enclosure area, check that the walls are vertical (plumb), and note any uneven areas. These details determine whether adjustments or shims will be needed.
Step 2: Prepare Your Walls and Floor
Mark drilling points with a pencil and verify their alignment using a level. Ensure your tile or stone surface is strong, clean, and ready for hinge hardware installation.
Step 3: Install Wall Channels or Brackets
Drill holes according to your markings, insert wall anchors, and secure the U-channel or bracket. This structure supports the fixed glass panel and must be installed tightly and evenly.
Step 4: Mount the Fixed Glass Panel
Carefully lift the panel into the U-channel, add protective gaskets, and tighten screws while confirming that the panel remains perfectly vertical.
Step 5: Install the Glass Shower Door Hinges
High-quality hinges make a significant difference at this stage. Attach the hinges to the door panel first, then position the door against the wall or fixed glass. Tighten the screws evenly and make fine adjustments as needed to ensure smooth, balanced movement. Premium shower door hinges hardware offer better stability, anti-sag performance, and durability.
Step 6: Add the Handle and Support Hardware
Install the door handle, support bars, and any additional brackets. Avoid overtightening to prevent stress on the glass.
Step 7: Apply Silicone Sealant
Seal all edges to prevent water leakage, especially the corners, floor edges, and U-channel joints. Let the silicone cure for at least 24 hours before using the shower.
Step 8: Final Check & Testing
Open and close the door to check movement, verify alignment with a level, ensure all screws are properly tightened, and test waterproofing by running water along the edges. When everything works smoothly—you’ve successfully installed your glass shower enclosure.
Congratulations—your DIY glass shower enclosure is complete!
Tips for a Professional Finish
For a clean, professional look, choose matching hardware finishes like chrome, matte black, or brushed nickel. Ensure hinges are perfectly aligned to avoid sagging, use high-quality silicone for neat sealing lines, and wipe both the glass and hardware immediately after installation to remove dust or fingerprints. Good hardware and careful detailing can make the glass shower enclosure look premium from day one.
When DIY Is Not Recommended
Some installations require professional expertise. If you’re working with oversized or extra-thick glass (12 mm+), complex custom layouts, unstable or uneven wall structures, or commercial environments, hiring a professional is the safest option. Knowing when to seek expert help protects both your hardware investment and your safety.
Common Mistakes to Avoid
- Skipping the level check: Uneven floors lead to misaligned doors.
- Using low-quality hardware: Cheap floor guides or hinges wear out fast, causing door wobble.
- Rushing the sealant: Incomplete drying leads to leaks. Installing your own glass shower enclosure not only saves money but also lets you customize the look (choose matte black or gold finishes to match your style). With reliable parts like sturdy floor guides and rust-resistant hinges, your DIY shower will last for years.
Final Thoughts
Choosing high-quality shower hardware fittings is not just about aesthetics, it's about ensuring long-lasting durability, smooth functionality, and uncompromised safety for every glass shower enclosure. By understanding the key evaluation factors, from material selection and structural performance to compatibility, craftsmanship, and after-sales support, you can avoid common pitfalls and invest in hardware that truly stands the test of time.
If you’re ready to enhance your shower enclosure with shower door hinge hardware you can trust, Loire is here to support your next project. Feel free to reach out for technical guidance, product recommendations, or tailored solutions.