Pivot shower door installation guide
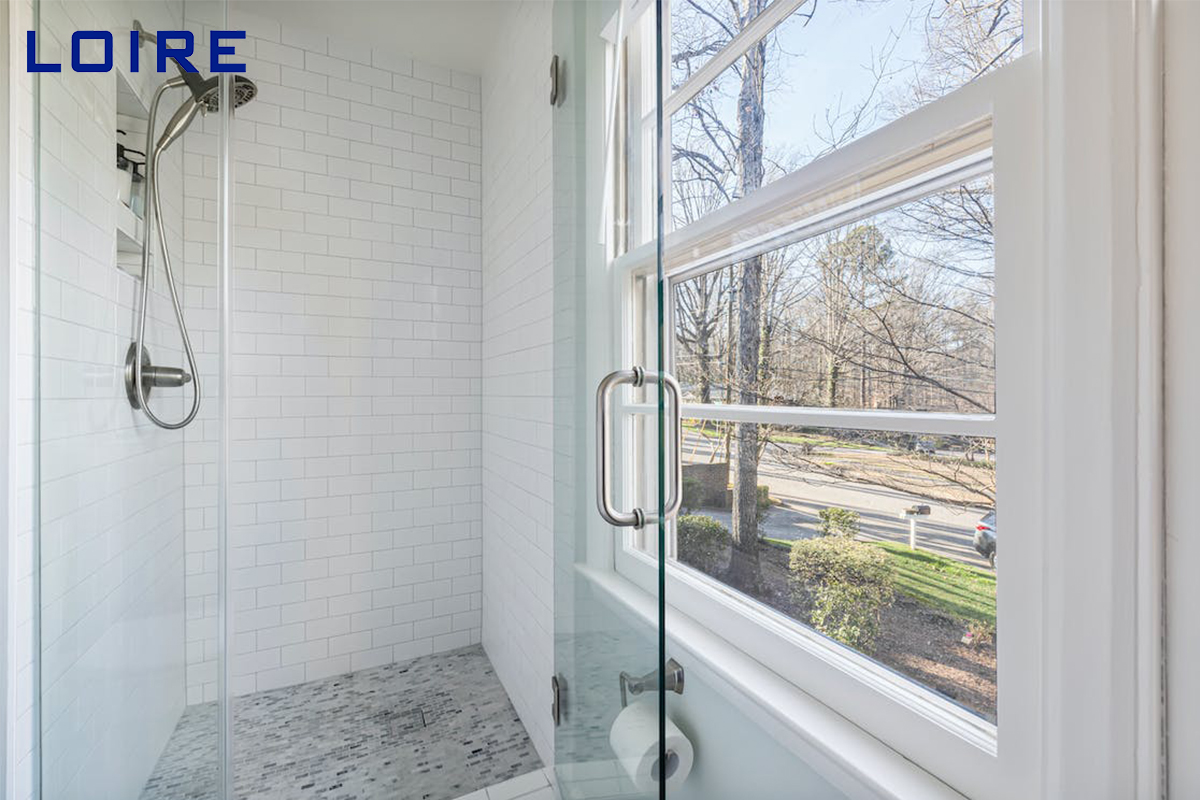
The installation of the rotary shower door can add style and value to any bathroom. Different from the push-pull bathtub or shower door, the installation of the rotary shower door is more complicated due to the design and function of the door. This guide will show you how to install a revolving shower door.
1. Select the rotation direction of the shower door
The first step in installing the revolving door is to select the revolving direction of the shower door. The design of most revolving shaft doors is reversible, and the revolving shaft can be installed on the right or left side of the enclosure. Most manufacturers recommend that the pivot be on the other side of the shower head. Whichever way you choose, shake to ensure that the revolving shaft door can swing freely without hitting anything.
2. Install the fulcrum support
Install the pivot bracket to the bottom sill.Apply silicone sealant to the inside edge of the pivot side of the bottom wall. Slide the pivot bracket onto the bottom wall and secure with the screws. Check to ensure that the silicone sealant completely fills the area between the pivot bracket and the bottom wall.
3. Install the door sill rail
Now install the sill rails. Thoroughly clean the threshold with alcohol.
Apply a bead of silicone sealant to the entire bottom edge of the sill track.
Position the sill rail so that the high side of the rail faces outward. Apply silicone sealant along the entire edge of the bottom rail to the wall. Wipe off any excess sealant.
4. Locate the pivot wall passage
Place and center the pivot chase on the bottom rail. Place a carpenter's level on the wall frame and adjust it until the wall piece is vertical. Mark the position of the mounting hole on the wall with a pencil. Repeat the process on the opposite wall.
5. Drilling holes for wall anchors
Apply an X-shaped masking tape to the tiles to prevent the drill from moving away from the surface.Use the center punch to make a notch on the glaze as the starting point of drilling. Use a 1/4-inch masonry drill to drill holes. Use a hammer to drive the wall anchor into the hole.
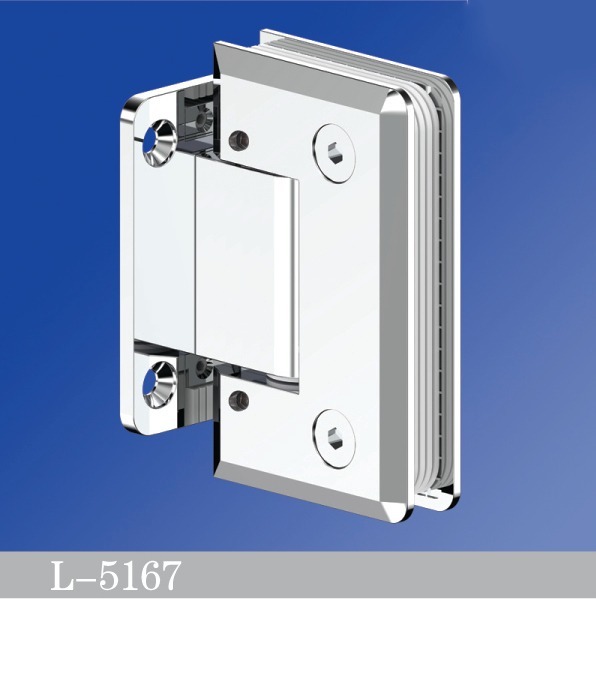
6. Install the pivot wall door frame
Next, install the wall railing to the wall.If the wall filler strip is required, place it behind the wall channel and close to the wall, and fix both with screws. Fasten the remaining pivot brackets to the top of the wall railing.
Place the bottom pivot bracket of the wall railing on the sill rail.Fix the wall railing to the wall with screws. Place the nylon bushing on the shaft.
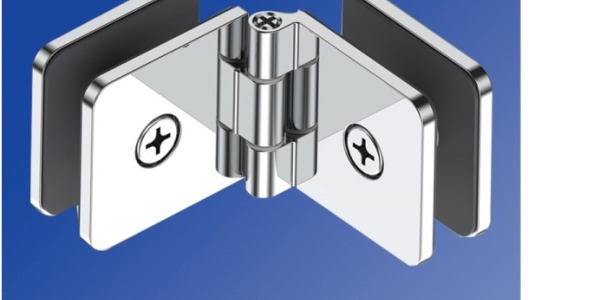
7. Install the pivot clamp on the door
Secure the top and bottom pivot clips to the door. Make sure that any adjusting screws are positioned correctly so that the door can be adjusted after installation.
8. Install the door on the pivot bracket
Guide the door up and into the top pivot bracket, then down and past the nylon sleeve on the bottom pivot bracket.
9. Install the magnetic door frame
Then, install the magnetic door frame on the opposite wall channel.
Adjust the door with the adjusting screw until it is flush with the door frame.After the door is properly adjusted, tighten all screws.
10. Complete the project
Install the weatherstrip at the bottom of the door and cut it to the required length. Place the glass clip on the bottom edge of the door and fix it on the door clip. Place the end cap on top of the wall channel.Install the door handle and any towel bar.
The above is all about today’s article, hoping it can do you a favor. Comments are welcome and let me know what you think. For more information, please feel free to visit our website and contact us.(loire@loire-hardware.com )