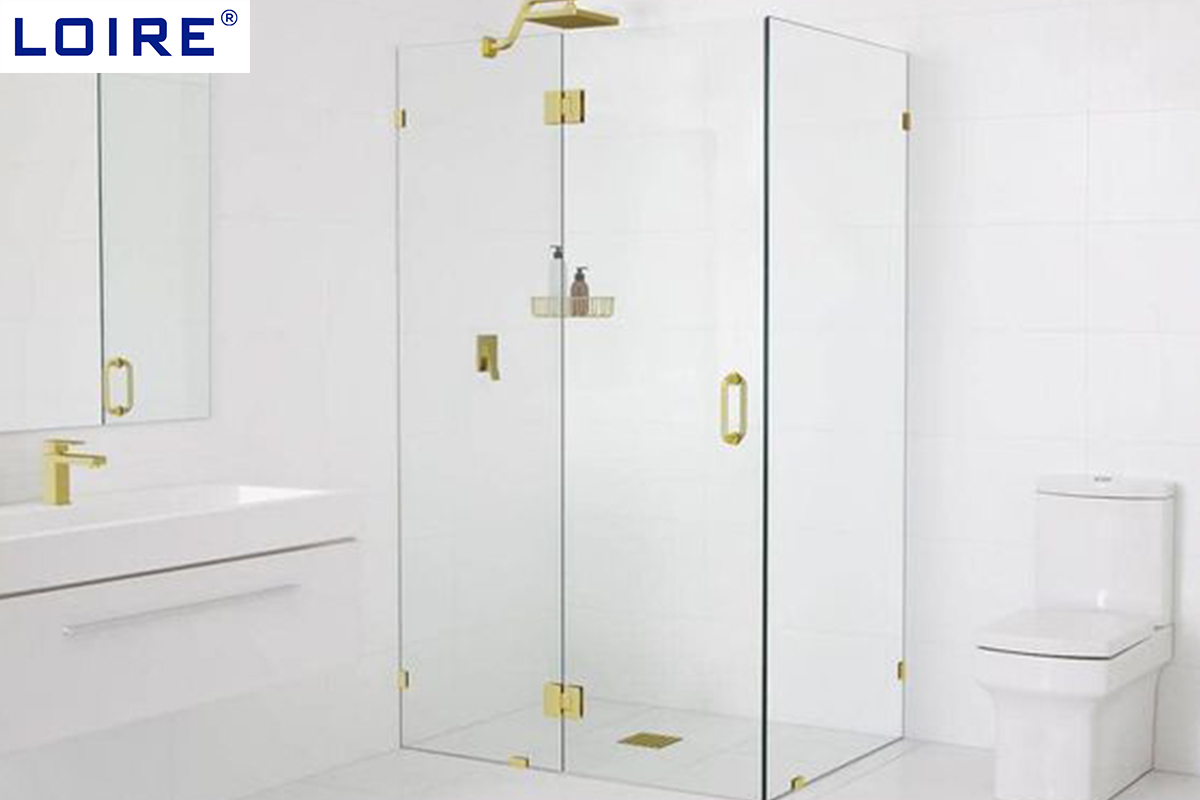
Detailed Installation Steps for the Water Heater Shower Bracket

To adjust the shower to the optimal position, we had to reinstall the shower rack. However, finding a professional is not cost-effective. For this reason, it is recommended that everyone learn to install their shower rack. Let's take a look at the detailed installation steps for professional water heater shower brackets.
1. Detailed Installation Steps for the Water Heater Shower Bracket
1.1 Firstly, install two shower hangers. Suggest a height of 1.2 meters above the ground for one shower hook and 1.8 meters above the ground for the other.
1.2 Insert the decorative cup into the thread of the shower. After wrapping the tape, screw the left and right shower racks into the cold and hot water pipe joints respectively.
1.3 Adjust the distance between the front ends of the left and right shower racks to 9cm, which is the same height and distance as the wall.
1.4 Place the washer at the water inlet behind the faucet body, and then install the shower faucet on the shower rack.
1.5 Install the outlet nozzle.
1.6 Install shower pipes and shower heads. Take a look at some small commodity wholesale markets, where there are products that sell concept household products and products that can use suction tiles to put showers.
2. Disassembly Method of Shower Nozzle Bracket
There are many types of shower heads, and each design is different, so different shower heads can be disassembled in different ways. Most showerheads adopt a movable design, and the rotating button of the showerhead can be gently turned to open; Some shower designs are more complex and require tools to disassemble the shower; And some designed showerheads simply cannot be disassembled.
The above are the detailed installation steps for the water heater shower bracket, I'm not sure if you have a clear understanding.


